A Crochet Tidy - Ta Da!!
This motif is worked from pattern no.136 - Tidy Pattern, from Home Work, published in 1891.
And what an adventure I had!
It's a long story... but with a happy ending ;)
Yes, I was searching about for something quite different when I discovered that in crochet, there is something called "a tidy."
So - what is a tidy in crochet?
My dictionary tells me it means a "cover for a chair back" - and indeed, I have found vintage patterns talking about just such an item!
You may have seen old patterns for chair backs or arms in magazines or books.
Sometimes they are worked in one piece, or they may be constructed using motifs.
I've also seen the word "antimacassar" used for this kind of thing, too. Macassar was a kind of hair oil for men. Ha! And so, to stop their greasy locks spoiling the back of a nice sofa, our Victorian ladies would make their antimacassars in the evenings, I suppose.
I'm not sure whether there is an exact difference in meaning between a tidy and an antimacassar as far as crochet is concerned. I'll worry about that later :)
The pattern I used is number 136 and it's simply called a "Tidy Pattern."
Go to the pattern on Archive.Org - it's on the lower part of page 161
There was no picture to accompany this pattern - so it was a mystery to me how it would turn out.
Only four rounds? No problem! However... it is a little fiddly in parts, not complicated, just nice, solid, crochet work.
I finish my "tidy" - but it looks... "UNTIDY!"
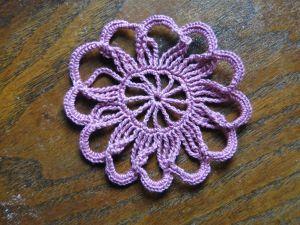
Here is a pic of my motif just after I'd finished it. It's a bit twisted and shapeless. It's also the wrong color, but my camera wouldn't behave itself.
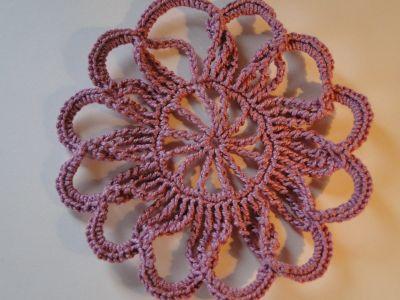
And here it is - yes, the same motif - on a white background:
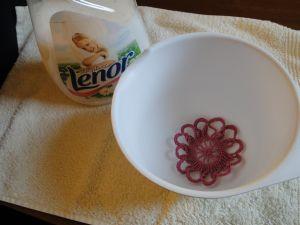
I decided to block it - ie: get it into shape! A bowl of cool water, a towel, and a few drops of fabric conditioner should do the trick:
My motif! My tidy! It swims!
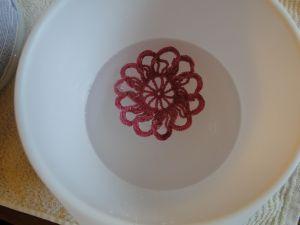
My blocking technique doesn't involve pins etc as I don't have anywhere to do this properly. But I find that a gentle wash, some loving shaping, a towel and a careful iron make a huge enough difference for me to be happy with the result.
I just gently move my tidy around in the water to let the stitches relax a bit. No squeezing please!
Then it's time to take it out. Lay it on a towel and just dab it, pressing lightly to get the bulk of the water out.
It still looks a little sorry for itself:
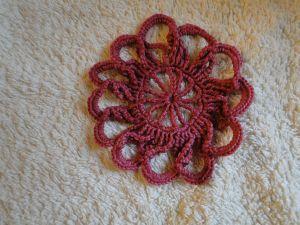
OK, now I have pressed out the water. I've also pulled the semi circle hoops out a bit, as well as in between the hoops - where each group of four long stitches gathers:
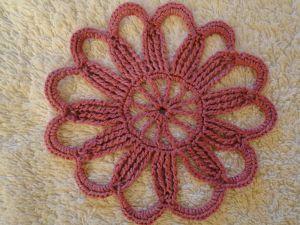
Once I'm happy with the overall shape, a light, medium hot iron for my cotton yarn.
Don't forget to check the washing/ironing instructions for your yarn! You don't want to melt... your tidy... ooops!
I went over the motif several times, concentrating on each loop, each long chain, going around the middle, shaping it as I went.
I pressed the back as well, then the front again:
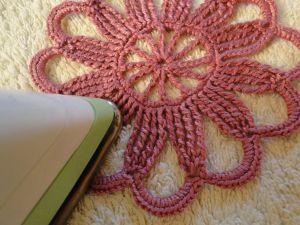
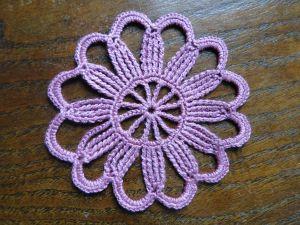
And at last - my tidy... is tidy!
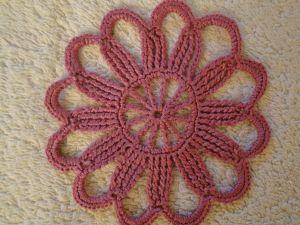
And then I took my pic of it on the table by the window... with a view to the mountain... and the tree tops. And it's gone that funny color again, but never mind:
And to finish this page, I will celebrate this "funny color" and my "tidy" by delighting you with this wonderful wisteria I had the pleasure of seeing just this last weekend.
Enjoy your tidies!

- Home
- Vintage Crochet
- Tidy Pattern