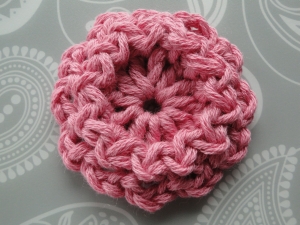
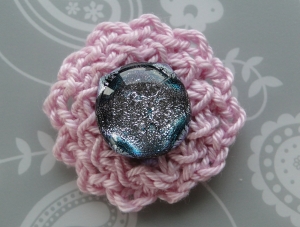
The Ridge Edge Flower
My Ridge Edge Flower uses a clever little technique (methinks) of two rounds of slip stitches to create a raised edging, which looks fab with or without a button:
|
|
Pattern
Round 1: Start with a slip knot, ch 4, 11 dc (UK tr) into 4th ch from hook, join with a ss into top of 4 ch.
Round 2: (ch 3, ss into next st) 12 times. Work your last ss into the joining ss from the last round.
Round 3: ss into first 3 ch loop. Stitch mark that first loop if you like, to keep track of where you are. Ss into space between your ch 4 and 1st dc (UK tr) of round 1.
(ss into next 3 ch loop, ss into next sp between dc (UK tr) stitches of round 1) 11 times.
Round 4: Now ss round again: ss into first 3 ch loop which is stitch marked, ss into first space between ch 4 and 1st dc (UK tr) of round 1. Then ss into next loop, ss into next space, and the same around. Finish with a ss into the 1st 3 ch loop again, tie off, and thread your tail end through to the back of the 3 ch loop and weave in your ends.
Here's how I start Round 3 - then continue around again for Round 4!
The Ridge Edge Flower Photo Tutorial
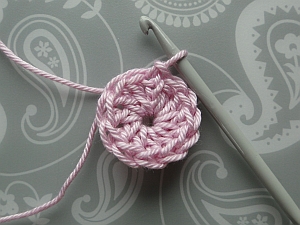
Round 1: Start with a slip knot, ch 4, 11 dc (UK tr) into 4th ch from hook, join with a ss into top of 4 ch:
~~~~~
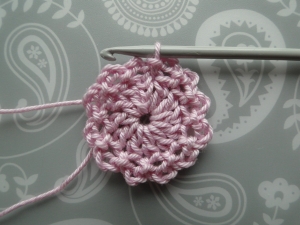
Round 2: (ch 3, ss into next st) 12 times. Work your last ss into the joining ss from the last round.
You now have 12 loops of 3 ch:
~~~~~
Round 3: ss into first 3 ch loop. Stitch mark that first loop
if you like, to keep track of where you are:
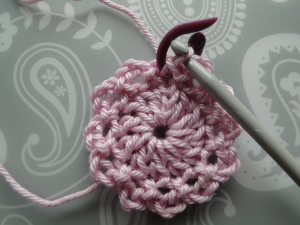
Ss down into the space between your ch 4 and 1st dc (UK tr) of round 1.
The dark thread shows you where to slip stitch after you work into the first loop. You need to go right down between the "legs" of the stitches:
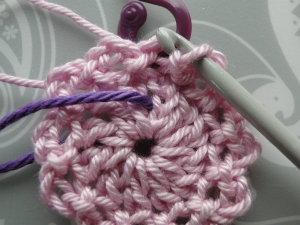
Here's that stitch made:
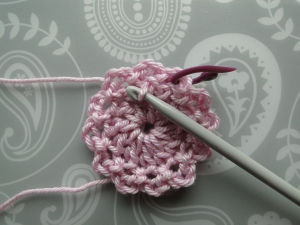
(ss into next 3 ch loop, ss into next sp between dc (UK tr) stitches of round 1) 11 times.
I count as I go round - top one, bottom one, top two, bottom two, etc :) Keep your tension nice and even, not too tight with these slip stitches!
Your last ss brings you into the space between your last dc (UK tr) and the beginning 4 ch:
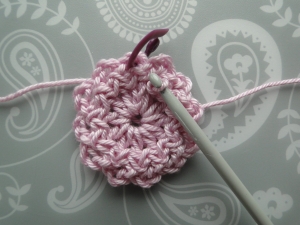
~~~~~
Round 4: Now ss round again in exactly the same way: ss into first 3 ch loop which is stitch marked, ss into first space between ch 4 and 1st dc (UK tr) of round 1.
Then ss into next loop, ss into next space below, and the same around:
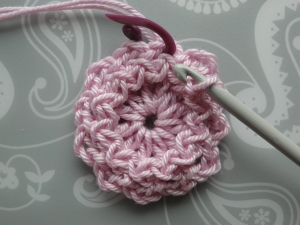
Finish with a ss into the 1st 3 ch loop:
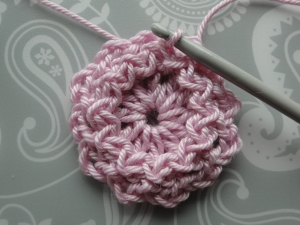
Tie off, and
thread your tail end through to the back of the 3 ch loop:
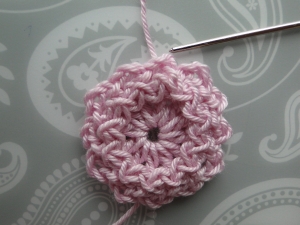
Weave in your ends, and all is done, at last!
Then I had a bit of fun.
You probably know how much I love my sports weight or thread yarns ;)
But... I had a big fabric-covered button I wanted to try out. So I dug out a ball of super bulky...
GULP!!
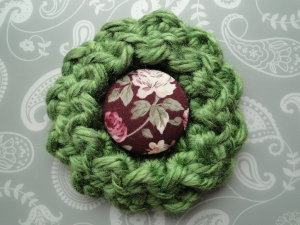 Super bulky Hometown USA yarn and an 8 mm hook. Width: 3½"/9 cm :)
After that, I went the whole hog, as we say, and added my worsted and fingering flowers to the middle instead of the button, to make a kind of "flower pie" - what do you think?
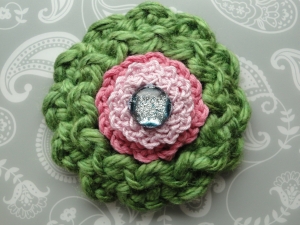
Well, you know, this could work as a rosette. Aha!! So if you attempt this version, be sure to show me how it turns out!
~~~~~
- Home
- Flower Patterns
- Ridge Edge Flower
