Easy Solomon's Knot Scarf
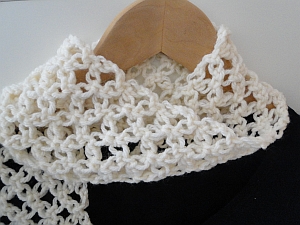
This Solomon's Knot scarf works up quickly. All the knots are the same size, and you begin and end with a little border to finish things off nicely:
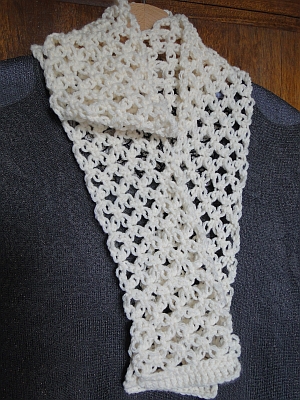 Wrap around...
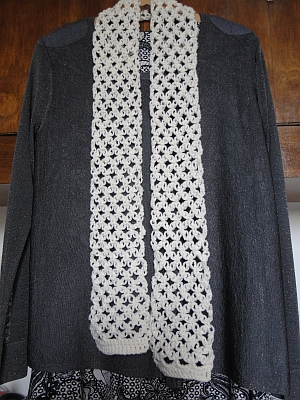 ...or drape about!
Worked with Bernat Super Saver Solids, Aran weight, 100% acrylic, and a 5.0 mm hook (size H.)
My scarf measures 51"/131 cm long, and just over 4"/10 cm wide.
|
|
Check out my Solomon's Knot tutorial if this stitch is new to you!
Solomon's Knot Scarf Pattern
Abbreviations and info:
SK - Solomon's Knot. 3 SKs = work 3 Solomon's knots.
To work my SKs, I pull up a loop about half an inch long, which works well for this pattern.
The pattern is written in U.S. terminology, so here are the conversions for you into U.K. terms:
sc = UK dc
dc = UK tr
The SKs are the same, hooray!
The Beginning
Row 1: Ch 18.
1 dc into 4th ch from hook (1st 3 ch counts as 1 dc); 1 dc into each of next 14 ch (16 stitches worked):
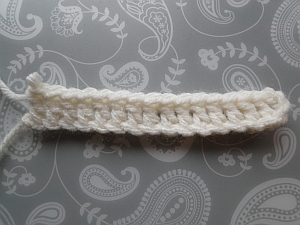 Row 1
Row 1Row 2: Ch 1, turn. 1 sc into each stitch along including top of 3 ch (16 stitches):
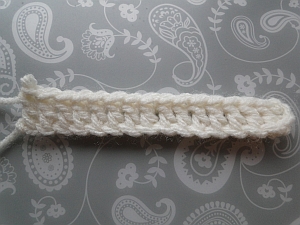 Row 2
Row 2The Middle
Row 3: 3 SKs, turn. Skip first two stitches of row, sc into 3rd stitch.
(2 SKs, skip next 3 stitches of row, dc into next stitch) 2 times.
2 SKs, skip next four stitches, sc into next stitch.
Your first SK row is now complete!
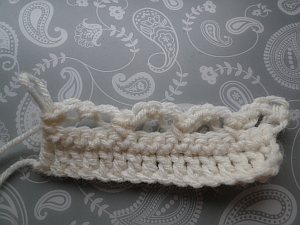 Row 3
Row 3Row 4: 3 SKs, turn; sc into next "top middle sc" - the sc that sits between the next two long loops.
(2 SKs, sc into next top middle sc) 3 times.
Note that at the end of the row, our top middle stitch isn't exactly in the middle - but simply work into the sc between the next set of 2 long loops as usual.
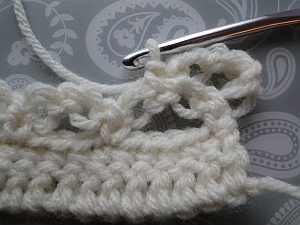 Working into the "top middle" stitch as I call it!
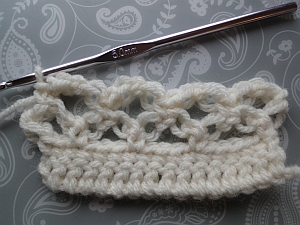 The last "top middle" isn't really a middle, but we will pretend it is :)
So now you have worked 2 rows of SKs! Now carry on in exactly the same fashion:
Row 5: 3 SKs, turn; sc into next top middle sc.
(2 SKs, sc into next top middle sc) 3 times.
Repeat Row 5 for pattern.
Work an even number of SK rows - I worked 84 rows for the scarf shown on this page.
The End
At the end of your even number of SK rows, work the following three steps:
Step 1: Ch 6, turn; sc under the top 2 loops of the big loop sitting before 1st top middle sc:
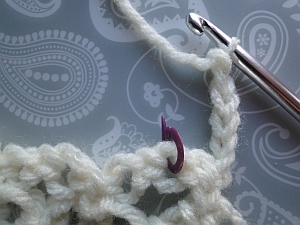 The loop I'm working into is stitch marked
Ch 4, skip 1st top middle sc right next to your hook, sc into next top middle sc.
Ch 4, sc into next top middle sc.
Ch 3, sc into next top middle sc, sc into next sc, which I have stitch marked below:
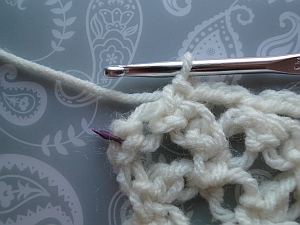 The last sc knot to work into is stitch marked
Step 2: Ch 1, turn; skip 1st sc, sc into next sc.
3 sc into 3 chain space.
4 sc into each of next two 4 ch spaces.
4 sc into 6 chain space at end.
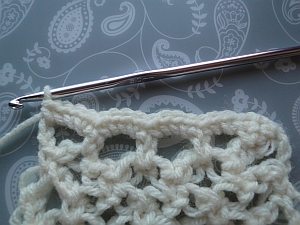 The sc (UK dc) row
Step 3: Ch 3, turn; skip 1st sc, dc into each of next 15 stitches:
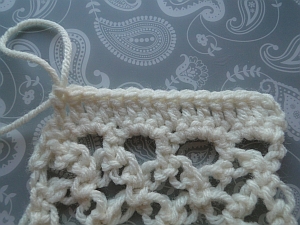 The dc (UK tr) row to finish
Right at the end, I work a ss into the space between the last two stitches, stitch marked below:
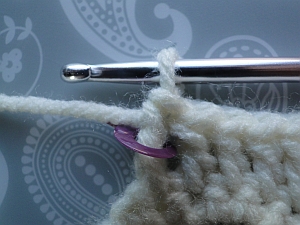 Work a ss into this space before tying off
Tie off, weave in ends, and enjoy wearing your scarf!
Even in an Aran weight, this looks very lacy and pretty:
~~~~~