Single Crochet Stitch
Abbreviation: sc (UK dc)
Single crochet stitch is king! It's sweet, it's neat, and you can do so much with it.
Why do I love it so much? Well, the stitches sit very close to each other. This is ideal for making little purses, bags, or cozies.
It's used in Amigurumi and also for many household items where you need a stiffer, closer worked fabric as in dishcloths.
You'll find single crochet used as an edging, either by itself, or with a fancier stitch worked on top of it.
And... it's so easy. Ready? Off we go!
Single Crochet - the First Row
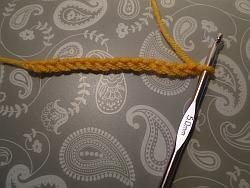
1. Make 16 chain. Find chain stitch instructions here:
~~~~~
2. Now, we are going to make 15 single crochets into this row.
We will miss the 16th chain and use it as a "turning chain."
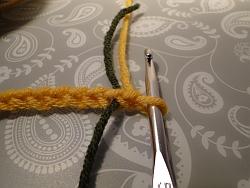
To the left of the loop on my hook is the 16th chain you made which is now the first chain of our new row.
To the left of that is the 15th chain that is now the second chain of our row. I've put some dark yarn through that stitch so you can see it.
So, as we go into our first row of single crochet, we will miss the first chain and work into the second chain from the hook.
Some crocheters insert their hook into the chain stitch under only one loop. They are one-loopers.
But I'm a two-looper!
And in my experience, unless otherwise instructed, patterns expect you to work under the top two loops.
~~~~~
3. I hope you've left the first chain empty - no stitch there... awwww!
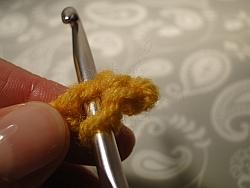
Put the hook through the second chain from the hook.
You can see the loop on the hook at the bottom, and the other two loops from the chain at the top:
~~~~~
4. Yarn round hook, pull the yarn through the chain:
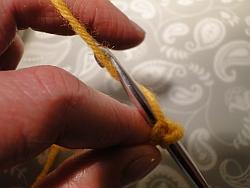
And this is the result:
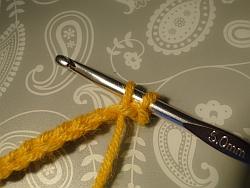
Now you have two loops on the hook - your original loop at the bottom, and the loop you've just pulled through on the top.
~~~~~
5. Yarn around hook and pull through the two loops on your hook:
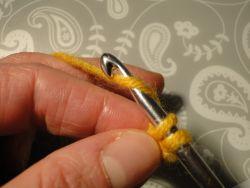 Yarn round hook. Yarn round hook. |
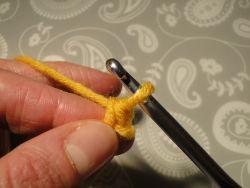 Yarn pulled through two loops on hook. Yarn pulled through two loops on hook. |
Here's a bird's eye view of your first stitch:
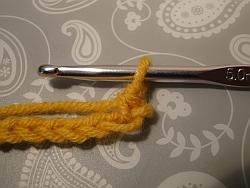
~~~~~
6. Second stitch: insert your hook through the next chain, just like you did in Step 3, yarn round hook, and pull yarn through:
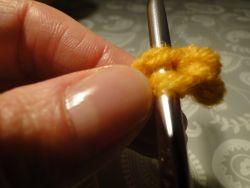 Hook under two loops of next chain. Hook under two loops of next chain. |
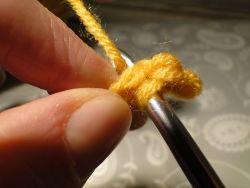 Pull yarn through the loops. Pull yarn through the loops. |
~~~~~
7. Then yarn round hook again, and pull through the two loops on your hook again:
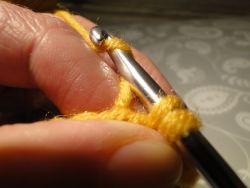 Yarn round hook. Yarn round hook. |
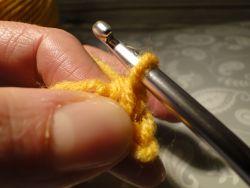 Pull yarn through two loops on hook. Pull yarn through two loops on hook. |
Keep working into each stitch until the end of the row:
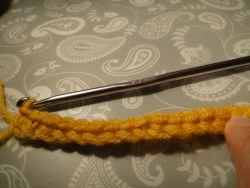
Here's a closeup of the end of your row:
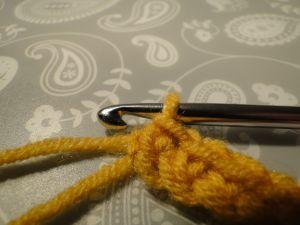
See the last stitch I worked, just under my hook? That is where we will work our next single crochet in a moment. But first we have to turn!
Working the Second Row and Beyond!
1. Yarn round hook and make one chain. This is your turning chain.
If you didn't make this chain, the rows would become very very tight at the ends:
 1 chain worked - the "turning chain."
Turn your work and find the top two loops of the last single crochet you worked - I've put my dark thread under those top two loops:
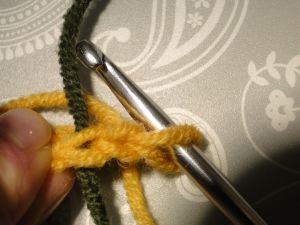 The dark thread shows where to work your first stitch of the next row.
~~~~~
2. Now work a single crochet into this stitch, and into each stitch along your row:
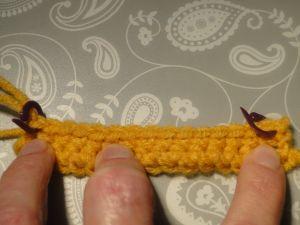
The stitch markers show the first and last stitch of that row. If I'm working bigger pieces, this can be very useful, depending on the kind of stitch/pattern you are working. You can also use stitch markers to help you count stitches along a very long row. Find out more about stitch markers here!
~~~~~
3. Work your next row: Work 1 chain, turn, then single crochet into each stitch along.
Work enough rows to make a square:
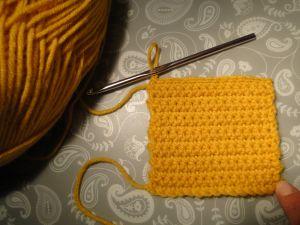
Notice that the tail end of the yarn - the end yarn at the bottom where you began your chains at the start - is on the left.
This shows you you're looking at the "right side" of the work.
If you were making a sweater, this is the side that everyone would see, and the back of your work would be on the inside of the sweater.
~~~~~